How To Install CentOS on Raspberry Pi
After playing around with Raspbian (a portmanteau of Raspberry and Debian) as the OS for my Raspberry Pi (RPi), I decided to switch over to using an RPM-based Linux distro instead. There are a few reasons for this. Firstly, I already have Ubuntu running on my main computer in a dual-boot setup with Windows. Secondly, I am currently going through a course on Udemy on Linux system administration, and the course uses CentOS/RHEL as the Linux distro. I want to practise along as I go through the course, and I will be doing that by SSH-ing into my RPi running on CentOS to practise. These are the steps I took to install CentOS on my RPi.
Step 1: Download CentOS for the RPi
You need to first install the CentOS ISO image. ISO images are not downloadable from the CentOS mirror website as they want to “conserve the limited bandwidth available”. However, you can download the ISO images from alternate mirror links, which can be found here. Click on any one of those mirror links (I recommend the first link) and you will be redirected to a webpage containing ISO images of CentOS.
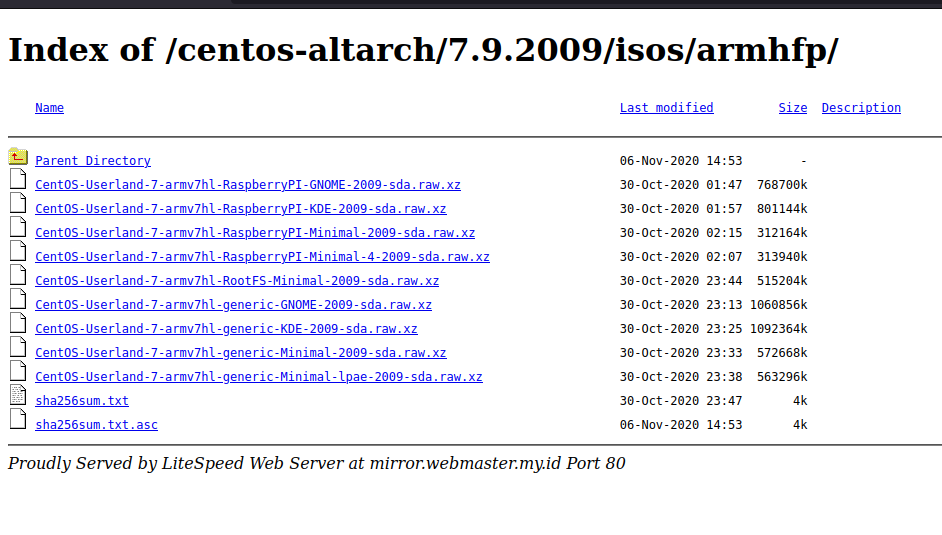
CentOS ISO images
Unfortunately, RPi 4 only supports the minimal version of CentOS (no GUI), whereas RPi 3 supports CentOS with the GNOME and KDE desktop (GUI), as well as the minimal version. I have an RPi 4, so I had to download the minimal version. Click on the type of CentOS you’d like to install for your RPi and it should download the file. Make sure to download the files with “RaspberryPI” in the name.
Step 2: Flashing the CentOS image onto the SD card
Before you can install the OS on RPi, you have to flash the CentOS image into the SD card to be used with RPi. This can be done with third-party tools, and the one I used is called “BalenaEtcher”. Download the software for your system (Etcher supports Windows, Linux and macOS). The file downloaded should be in a .zip format. Extract the file and open the extracted file. You should see this screen:
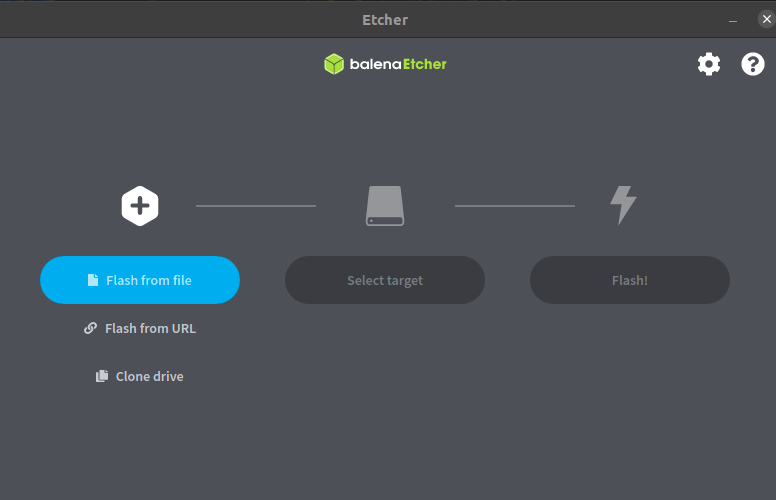
BalenaEtcher software
Next, insert the SD card into your computer. Click on “Flash from file” and select the CentOS ISO image. Then, click on “Select target” and select the SD card you just inserted. Lastly, click on “Flash!” and wait for the software to flash the image onto the SD card. After it’s done, you can remove the SD card from your computer.
Step 3: Install CentOS on RPi
You can now insert the SD card into the RPi, and boot up the RPi. Follow the on-screen instructons to set up CentOS on your RPi and you are done! Note that if you are installing the minimal version of CentOS as I have, you will see a terminal screen appear, asking for localhost login. Type root as this is the default account username created when CentOS. It should next prompt for a password. The default password for the root user is centos. Remember to change the password for your root user account by typing passwd at the command prompt. Now go ahead and install some apps on your CentOS! Remember to use the yum/dnf command instead of apt, though.